Posted in Cloud, Kubernetes

Multi-node Kubernetes setup on Windows

We can create mulit-node kubernetes setup on Windows laptop/VM as well. Mostly if you want to learn or try and test Kubernetes concepts.

I am using Windows 2012 server, it will work on other Windows version as well.

We use Virtualbox and Vagrant to configure Kubernetes nodes.

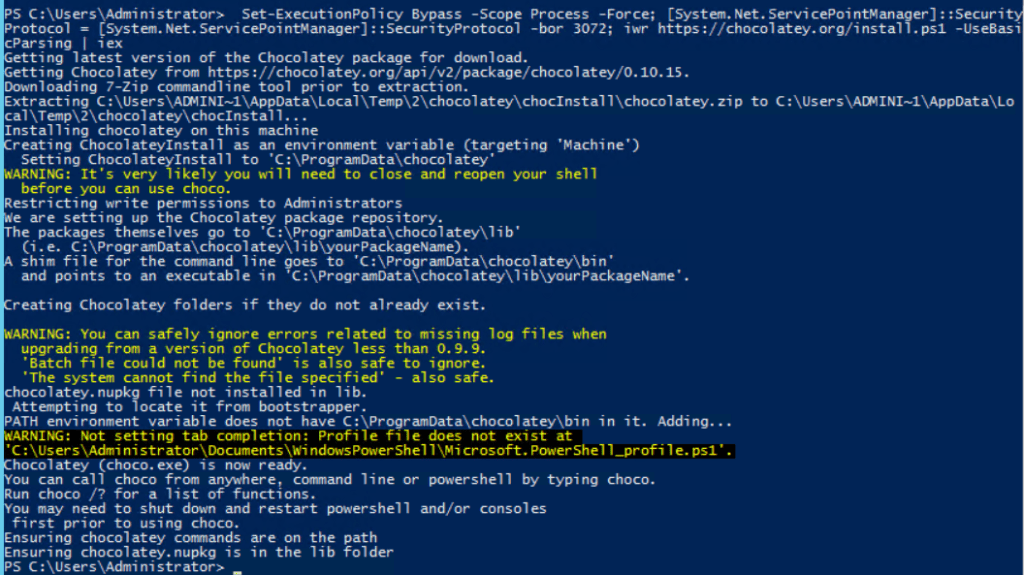
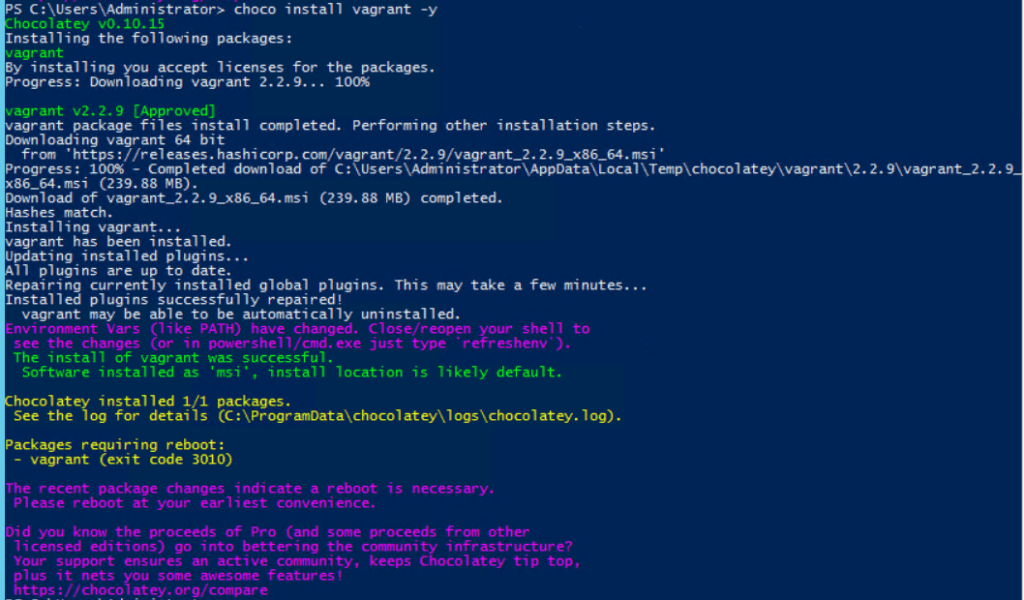
Perform following steps as pre-requisites.

# Author: vishmule
## These steps will install VirtualBox and Vagrant on Windows VM
# Install chocolatey package manager for Windows.
Set-ExecutionPolicy Bypass -Scope Process -Force; [System.Net.ServicePointManager]::SecurityProtocol = [System.Net.ServicePointManager]::SecurityProtocol -bor 3072; iwr https://chocolatey.org/install.ps1 -UseBasicParsing | iex
# Install VirtuaBox on Winodws
choco install virtualbox -y
# Install Vagrant on Windows
choco install vagrant -y
# Install Virtualbox guest plugin for Vagrant
vagrant plugin install vagrant-vbguest
# Download Wget package for Windows.
http://downloads.sourceforge.net/gnuwin32/wget-1.11.4-1-setup.exe
Install chocolatey package manager on Windows.
Install VirtualBox
Install Vagrant

Reboot VM here.

vagrant plugin install vagrant-vbguest

Create Vagrantfile for 4 Kubernetes nodes (1 master and 3 worker nodes). I am using following values for memory and CPU, you can use as per your hardware resource. you can remove 1 worker node as well. Using CentOS image for this setup.

kubemaster – 192.168.56.2 (6G RAM & 4 vCPU)

worker1 – 192.168.56.3 (2G RAM & 2CPU)

worker2 – 192.168.56.4 (2G RAM & 2vCPU)

worker3 – 192.168.56.5 (2G RAM & 2vCPU)

# Author: vishmule
# -*- mode: ruby -*-
# vi: set ft=ruby :
VAGRANTFILE_API_VERSION = "2"
Vagrant.configure(VAGRANTFILE_API_VERSION) do |config|
# General Vagrant VM configuration.
config.vm.box = "centos/7"
config.ssh.insert_key = false
config.vm.synced_folder ".", "/vagrant", disabled: true
#end
# KubeMaster
config.vm.define "kubemaster" do |master|
master.vm.hostname = "kubemaster"
master.vm.network :private_network, ip: "192.168.56.2"
master.vm.provider :virtualbox do |v|
v.memory = 6144
v.cpus = 4
v.linked_clone = true
end
end
# Worker1
config.vm.define "worker1" do |node|
node.vm.hostname = "worker1"
node.vm.network :private_network, ip: "192.168.56.3"
node.vm.provider :virtualbox do |v|
v.memory = 2048
v.cpus = 2
v.linked_clone = true
end
end
# Worker2
config.vm.define "worker2" do |node|
node.vm.hostname = "worker2"
node.vm.network :private_network, ip: "192.168.56.4"
node.vm.provider :virtualbox do |v|
v.memory = 2048
v.cpus = 2
v.linked_clone = true
end
end
# Worker3
config.vm.define "worker3" do |node|
node.vm.hostname = "worker3"
node.vm.network :private_network, ip: "192.168.56.5"
node.vm.provider :virtualbox do |v|
v.memory = 2048
v.cpus = 2
v.linked_clone = true
end
end
end
view raw Vagrantfile hosted with ❤ by GitHub

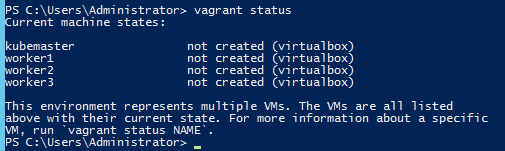
Once you created a file in user’s home directory execute vagrant status. It will read the Vagrantfile and show the status of all VMs as not created.

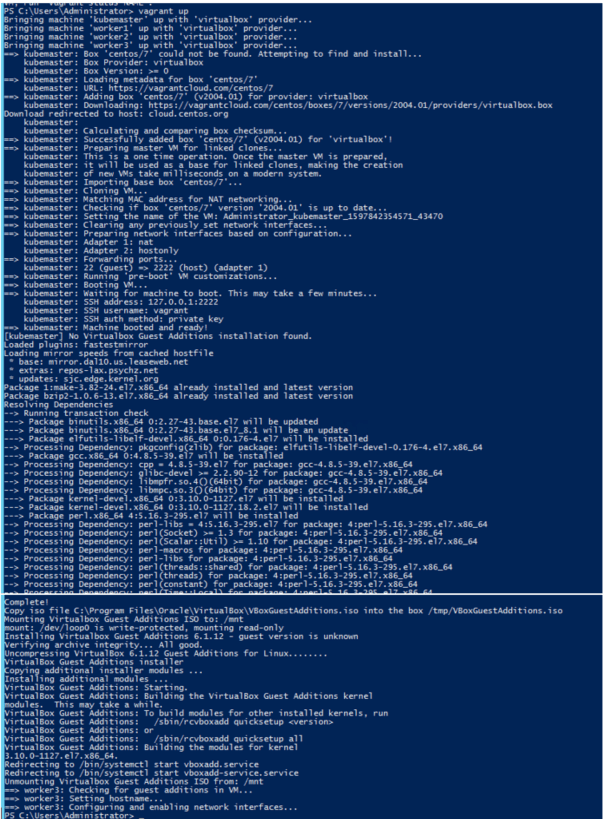
Now run # vagrant up

I will take few mins to complete the installation as it will download CentOS image first and then create 4 linked clones for kubernetes nodes.

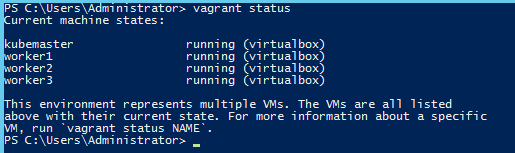
Now check vagrant status. It should show all 4 VMs as running.

Now next step is to configure Kubernetes nodes. SSH to kubemaster and create configure-vm.sh

#!/bin/bash
# Author: vishmule
# Configure VMs before installation of Kubernetes components
## Disable Selinux
setenforce 0
sed -i 's/^SELINUX=enforcing$/SELINUX=permissive/' /etc/selinux/config
## Update IP table setting
## This ensures that packets are properly processed by IP tables during filtering and port forwarding.
cat <<EOF | sudo tee /etc/sysctl.d/k8s.conf
net.bridge.bridge-nf-call-ip6tables = 1
net.bridge.bridge-nf-call-iptables = 1
EOF
sysctl –system
## Disable Swap in order to work kubelet smoothly
sed -i '/swap/d' /etc/fstab
swapoff -a
## Add Kubernetes Repo
cat <<EOF > /etc/yum.repos.d/kubernetes.repo
[kubernetes]
name=Kubernetes
baseurl=https://packages.cloud.google.com/yum/repos/kubernetes-el7-\$basearch
enabled=1
gpgcheck=1
repo_gpgcheck=1
gpgkey=https://packages.cloud.google.com/yum/doc/yum-key.gpg https://packages.cloud.google.com/yum/doc/rpm-package-key.gpg
EOF
## Install kubeadm and docker
yum install kubeadm docker -y
## Start and enabled docker, kubelet service
systemctl restart docker && systemctl enable docker
systemctl restart kubelet && systemctl enable kubelet
view raw configure-vm.sh hosted with ❤ by GitHub

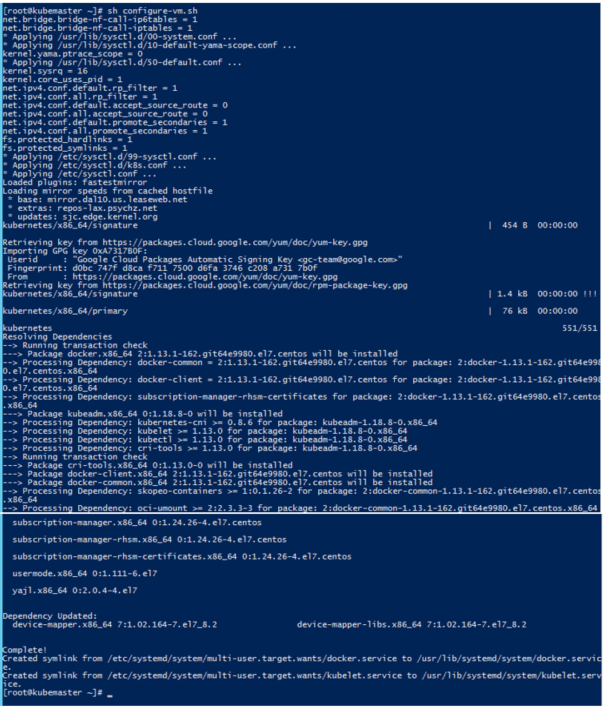
configure.sh file which will perform following required configuration before installing Kubernetes

a. Disable SELINUX using sentenforce and udpate the config file

b. Update IP table settting, This ensures the packets are properly processed by IP tables during filtering and port forwarding.

c. Disable swap in order to work kubelet smoothly.

d. Add Kubernetes repo

e. Install Kubeadm and docker

f. Enable and start kubelet and docker

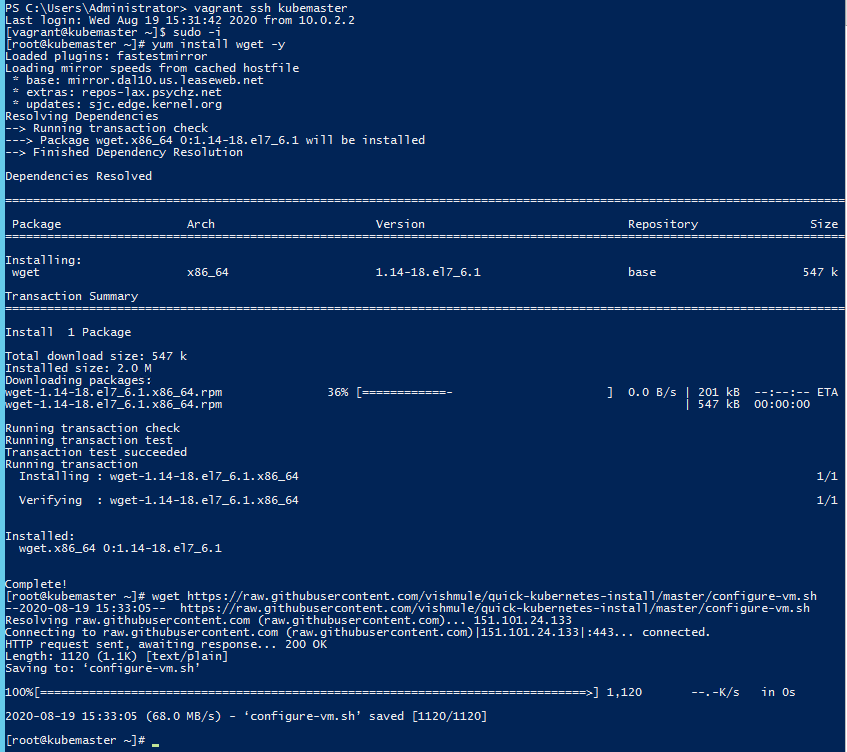
# vagrant ssh kubemaster

# sudo -i

# yum install wget -y

# wget https://raw.githubusercontent.com/vishmule/quick-kubernetes-install/master/configure-vm.sh

Now run # sh configure-vm.sh

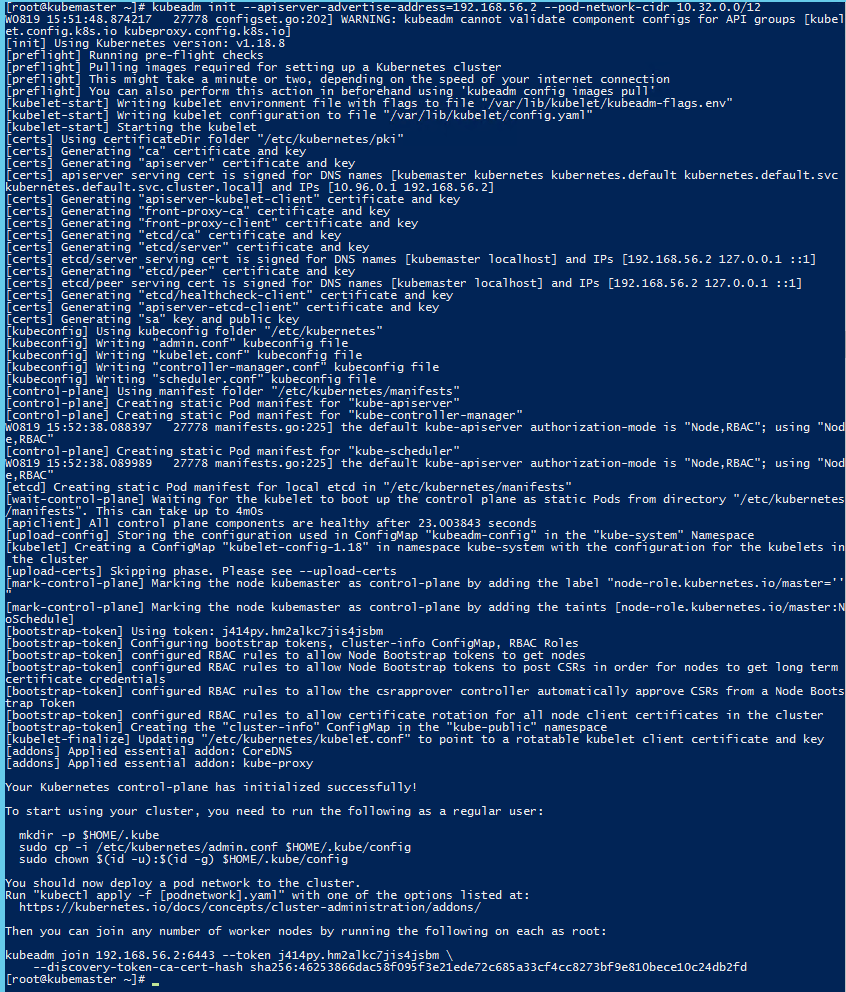
Next step is Kubernetes installation using kubeadm

# kubeadm init –apiserver-advertise-address=192.168.56.2 –pod-network-cidr 10.32.0.0/12

Perform intial steps.

Install network plugin for Kubernetes. I am using weave-net here.

kubectl apply -f “https://cloud.weave.works/k8s/net?k8s-version=$(kubectl version | base64 | tr -d ‘\n’)”

We are done with all the configuration on kubemaster now. Copy kubeadm join command and save it.

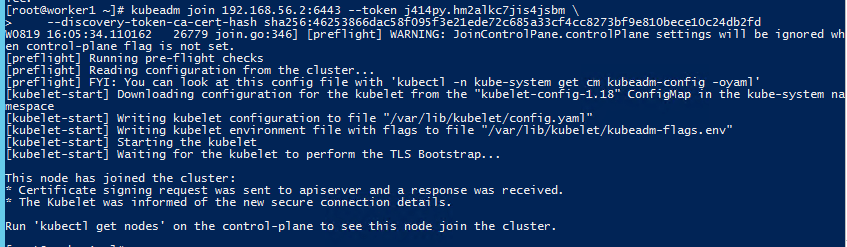
kubeadm join 192.168.56.2:6443 –token j414py.hm2alkc7jis4jsbm \
–discovery-token-ca-cert-hash sha256:46253866dac58f095f3e21ede72c685a33cf4cc8273bf9e810bece10c24db2fd

Now exit from kubemaster and login to worker nodes1, 2 and 3 and copy configure-vm.sha and run it.

run kubeadm join comamnd to add the node in kubernetes cluster

Perform the same steps on remaining worker nodes.

That’s it Kubernetes configuration is completed now. Check status of all the nodes.

Kubernetes is ready now

Advertisement

Author:

I have created this blog to share my learning from IT world. Hope you find it useful in your day to day work. Feel free to send me your feedback about my blog.

2 thoughts on “Multi-node Kubernetes setup on Windows

  1. Hi
    Thanks for this detailed blog post which I found really useful. Just a question on using Hyper-v I changed your instructions and use a hyper-v instead of Virtualbox but everytime I reboot my Win10 laptop, my VMs get a new Ip address which crashes the cluster. Any idea how to fix this?
    thanks

    Like

Leave a Reply

Fill in your details below or click an icon to log in:

WordPress.com Logo

You are commenting using your WordPress.com account. Log Out /  Change )

Twitter picture

You are commenting using your Twitter account. Log Out /  Change )

Facebook photo

You are commenting using your Facebook account. Log Out /  Change )

Connecting to %s

This site uses Akismet to reduce spam. Learn how your comment data is processed.