Many times we need test lab which includes two or more virtual machines and which should be built quickly on our laptop and test different scenarios of docker, Kubernetes and Ansible and tear down once done.
I used to install VirtualBox on my laptop and then install CentOS manually and then clone it for two or three VMs, this also works fine but it is time-consuming as my aim was to learn the docker, Kubernetes concepts or test Ansible playbooks, once done tear down the setup and start new one for other test cases.
There is one simple solution out there where we can use VirtualBox and Vagrant to set up a multinode environment using the configuration file and start the lab in a few mins.
I have summarized a few steps to quickly set up your own lab with VirtualBox and Vagrant.
You can create as many virtual machines you want but you need enough RAM on your laptop/desktop.
1. Download the VirtualBox software using the following link. Just check the latest/stable release wget https://download.virtualbox.org/virtualbox/6.0.4/VirtualBox-6.0-6.0.4_128413_el7-1.x86_64.rpm

Install the VirtualBox #rpm -ivh VirtualBox-6.0-6.0.4_128413_el7-1.x86_64.rpm

2. Download the Vagrant setup using the link
wget https://releases.hashicorp.com/vagrant/2.2.4/vagrant_2.2.4_x86_64.rpm

Install the Vagrant setup #rpm -ivh vagrant_2.2.4_x86_64.rpm

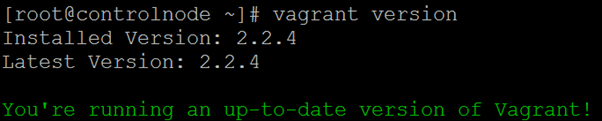
Check the Vagrant Version and make sure you are using up-to-date release.
3. Create Vagrantfile with the number of VMs you need, here I am creating three VMs webapp1, webapp2 and db. You can use different names like node1, node2, master etc.
Following conf. I have used to create a Vagrant file you can change as per your requirement.
Linux Image – CentOS/7
Memory – 256MB for each VM
Linked Clone – True (used same base image for all three VMs)
Hostname / Network Details –
webapp1.test – 192.168.100.2
webapp2.test – 192.168.100.3
db.test – 192.168.100.4
# -*- mode: ruby -*-
# vi: set ft=ruby :
VAGRANTFILE_API_VERSION = “2”
Vagrant.configure(VAGRANTFILE_API_VERSION) do |config|
# General Vagrant VM configuration.
config.vm.box = “centos/7”
config.ssh.insert_key = false
config.vm.synced_folder “.”, “/vagrant”, disabled: true
config.vm.provider :virtualbox do |v|
v.memory = 256
v.linked_clone = true
end
# Webapp 1
config.vm.define “webapp1” do |app|
app.vm.hostname = “webapp1.test”
app.vm.network :private_network, ip: “192.168.100.2”
end
# Webapp 2
config.vm.define “webapp2” do |app|
app.vm.hostname = “webapp2.test”
app.vm.network :private_network, ip: “192.168.100.3”
end
#Database server.
config.vm.define “db” do |db|
db.vm.hostname = “db.test”
db.vm.network :private_network, ip: “192.168.100.4”
end
end
4. Validate the Vagrantfile.

5. Now start the provisioning process using vagrant up. Make sure your Vagrantfile is in the same folder where you are executing vagrant up
# vagrant up
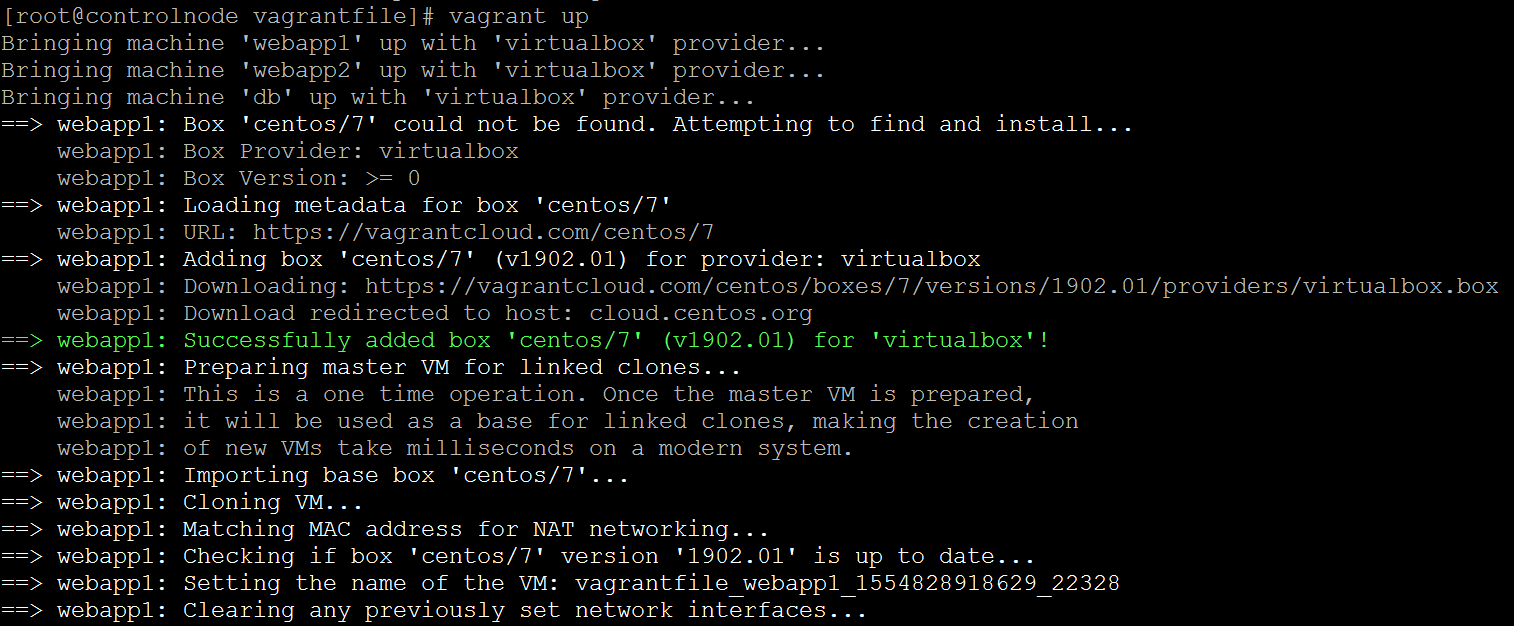

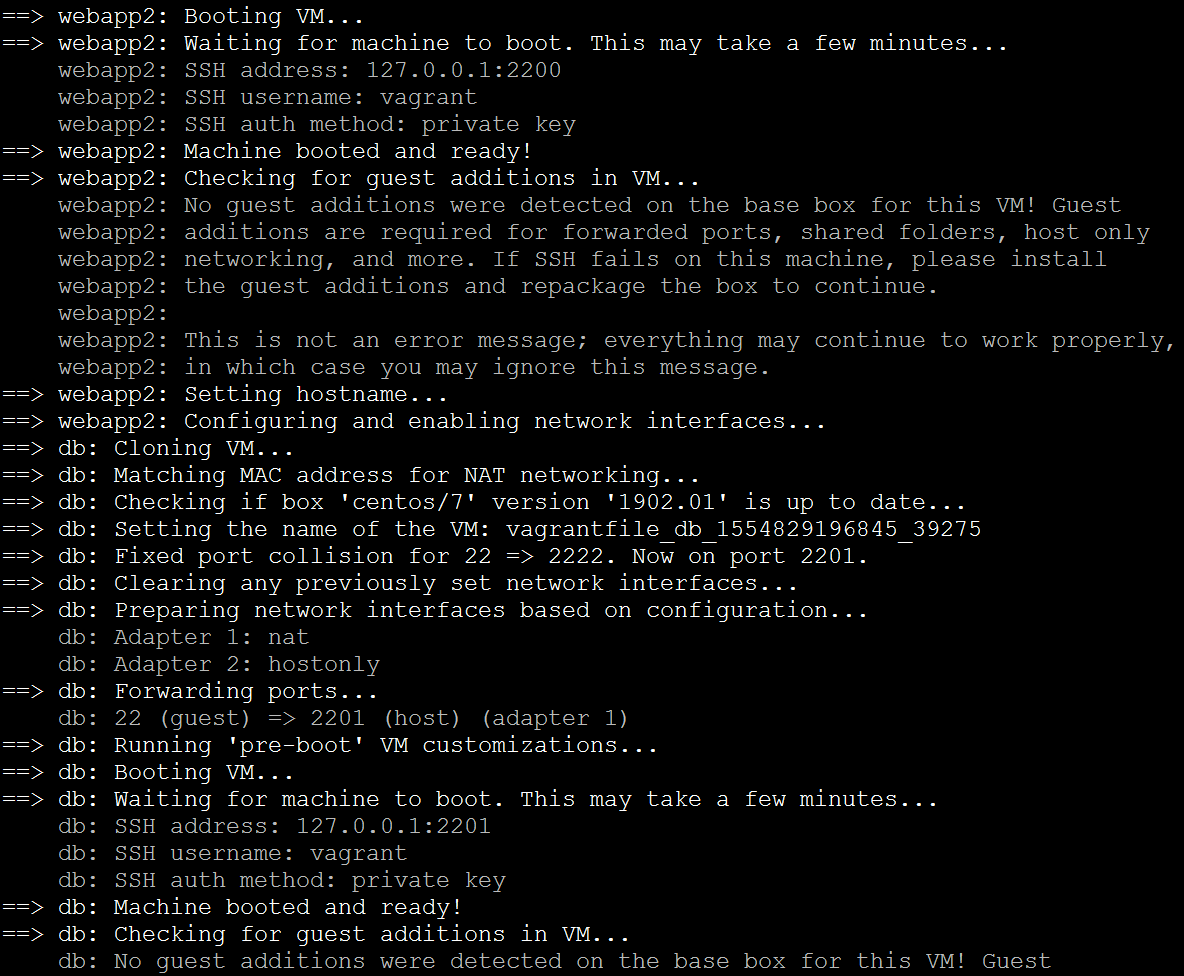
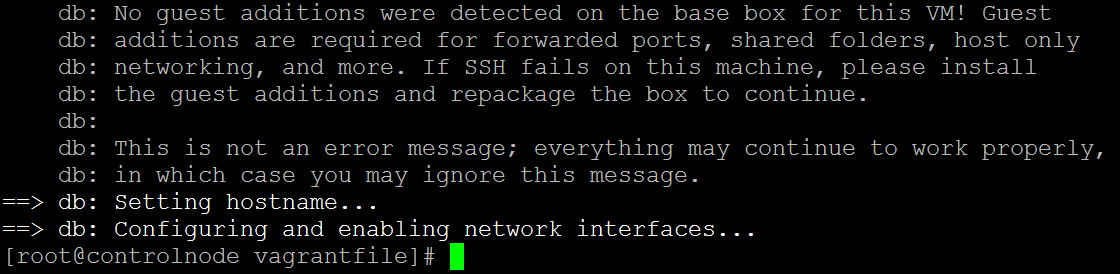
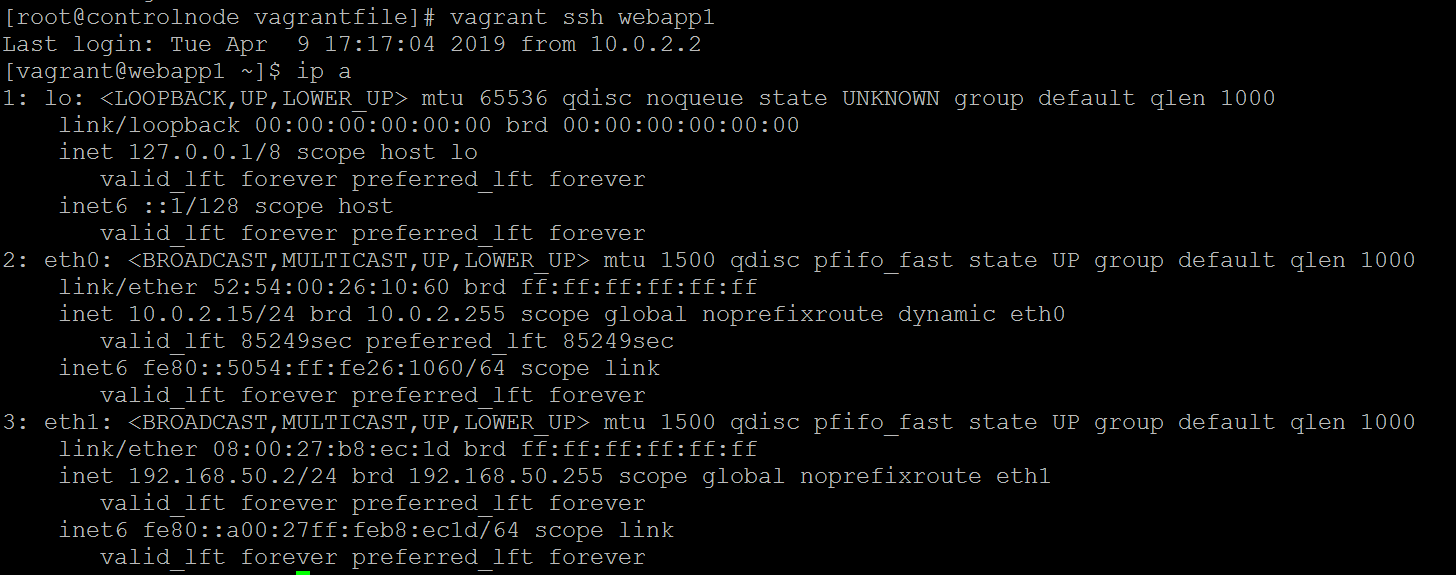
That’s it you can now ssh to all the VMs using VM name
# vagrant ssh webapp1
Enjoy your own Lab 🙂
