Once you install Openstack in single node or multinode setup next thing is to setup network. To understand networking in Openstack is little tedious job. This post is to describe basic Openstack networking concept by creating internal/external networking and testing the same.
First delete all default network like public and private which were created by default after Openstack installation using
#neutron net-delete <net-name>
Let us create new internal network first.

Create subnet for network private-net with subnet address 10.0.0.0/24

Now create new VM with internal network private-net. Now before creating VM we need couple of things. To access VM we need a key, we need image to boot VM and we need network ID of private-net to access VM.
Generally we use id_rsa.pub file as our key to access VMs which can be generated using ssh-keygen. You can create new keypair as well. I use my public key only.

We used by default available cirros image.

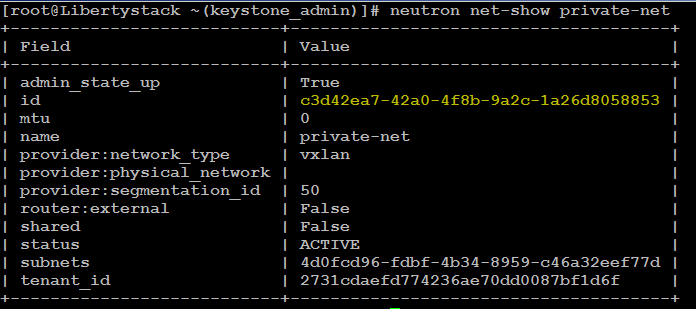
We need network ID of private-net network
I don’t want to use existing flavors so I have created new custom flavor with 256MB ram 1 disk and 1 vcpu with id 6 as default we have 5 flavors.

Create new VM with name testvm contains custom flavor, cirros image, private network and my-key keyname.

Check the VM status if it is running fine after creation.

Whenever you create new network you will find network namespace qdhcp-<net-id> is created on neutron node. Unique Network namespace is used to differentiate between network. You can have same subnet for different network in same project and network namespace will handle all the network traffic without interfering each others network. #ip netns list is command to check network namespace of private-net.
To access internal network of VM we need network namespace of internal network private-net.

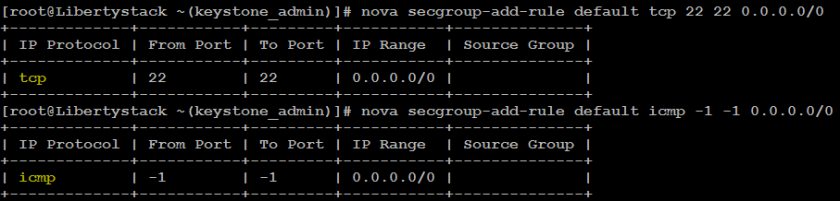
Till now we cannot access newly created VM as we don’t SSH and ICMP rule in default security group. Create 2 security rule SSH and ICMP for ssh and ping test with VM.
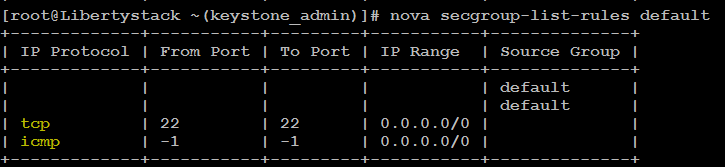
Check if it is now part of default security group.
Now using network namespace we got it from above step test ping to internal network of VM

It’s working fine.
Now try SSH to internal network of VM using my-key and user cirros. Password of user cirros is cubswin:)
Correction – If you are using key-pair you don’t need to use username cirros and no need to enter password and it will authenticate using key-pair which is public key in this case.
Thanks Dan for pointing it.

Thats it we can logged in to VM using internal network and check hostname of VM.
In next Part I will show how to create and access external network.

You are right Dan. I will update the post.
LikeLike