Refer my previous post for installation of Ubuntu server 14.04. Once OS installation is completed and VM restarted successfully then we can use same VM for Openstack Installation.
- Update existing Ubuntu filesets before installation of Openstack.

2. Install openssh-server fileset to get ssh console from outside world. This is optional installation which is useful for taking putty session of server. You can take console login of server as well using ESX GUI.


3. Change Interface setting to dhcp to automatically configure IP in the range of host machine IP and connect to Ubuntu.com to download Openstack bundles. You can use static IP as well. Edit /etc/network/interfaces file to make the changes.

4. If VM is behind the firewall then to access/download filesets from internet you have to add http_proxy, https_proxy and ftp_proxy setting into /etc/environment file or in .bashrc file of user . This is optional setting if you can access internet directly (without firewall).
Syntax – username:password@proxyservername:8080

5. Install git repository to clone Openstack bundles on VM.

6. Create Openstack directory in /var to store Openstack data. Execute following command to download Openstack bundles from github
# git clone https://github.com/openstack-dev/devstack.git

7. To install Openstack we need non-root user. One script is provided through devstack bundles to create user stack to install Openstack. This script will create user and group named stack and add passwordless sudo privileges for stack user. The path of script is /var/openstack/devstack/tools/create-stack-user.sh.

8. During Installation of Openstack other components will also be installed as part of complete installation like MYSQL server, RABBIT server, messaging server. During installation of these components we need to set/insert password manually So to make it automate we create one file localrc in devstack folder and store all required password in it.

9. If you are getting error while downloading data from GIT base using git repo then replace git with https in stackrc file. I have encountered this issue so updated the stackrc file and change GIT_BASE address from git to https.

10. Reboot the server here login using stack user and start stack.sh script. This will start the installation with below screen.
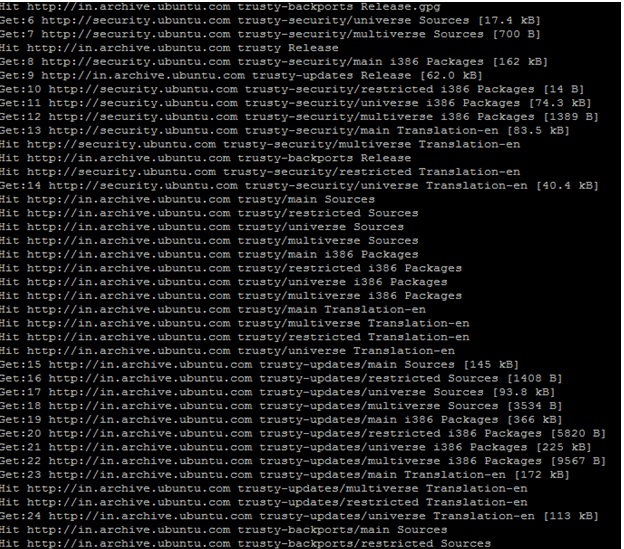
11. This script will take around 1 hour to complete the installation provided you have good network speed. you may encounter issues during installation just check exact error message and resolve it and start installation again using stack.sh script. After successful installation following screen appears.

12.Now you can open the Openstack Dashboard using https://127.0.0.1 internally and using any interface IP from outside. Default Login username is admin and use same password mentioned in localrc file.
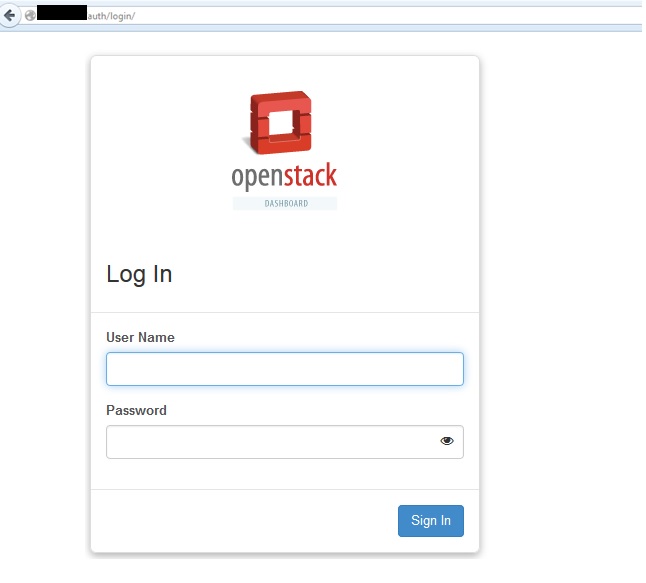
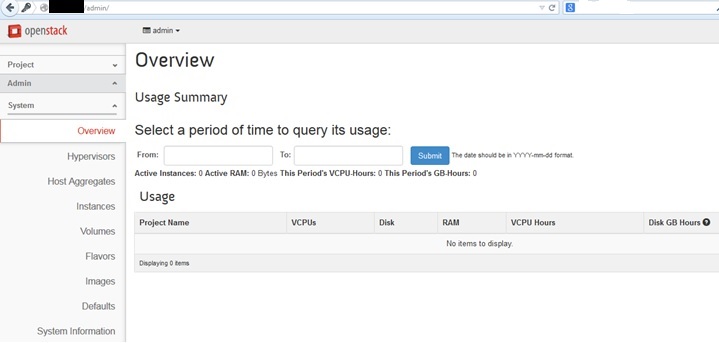
13. After successful login using admin and supersecret as password you can see Openstack dashboard.
14. Best of Luck for your Openstack installation. Feel free to comment on this post for any issues.
