This post describe quick steps to install KVM hypervisor on CentOS7. KVM (Kernel based Virtual Machine) is opensource hypervisor, lightweight and works/fits well into cloud.
For your personal lab you can use KVM hypervisor layer and utilize hardware for creation of multiple VMs. KVM support both linux and windows based VMs.
Check whether system CPU supports Hardware Virtualization. #grep -E ‘{vmx|svm}’ /proc/cpuinfo

if you get vmx or svm in output then you are good to go ahead otherwise your CPU doesn’t support virtualization.
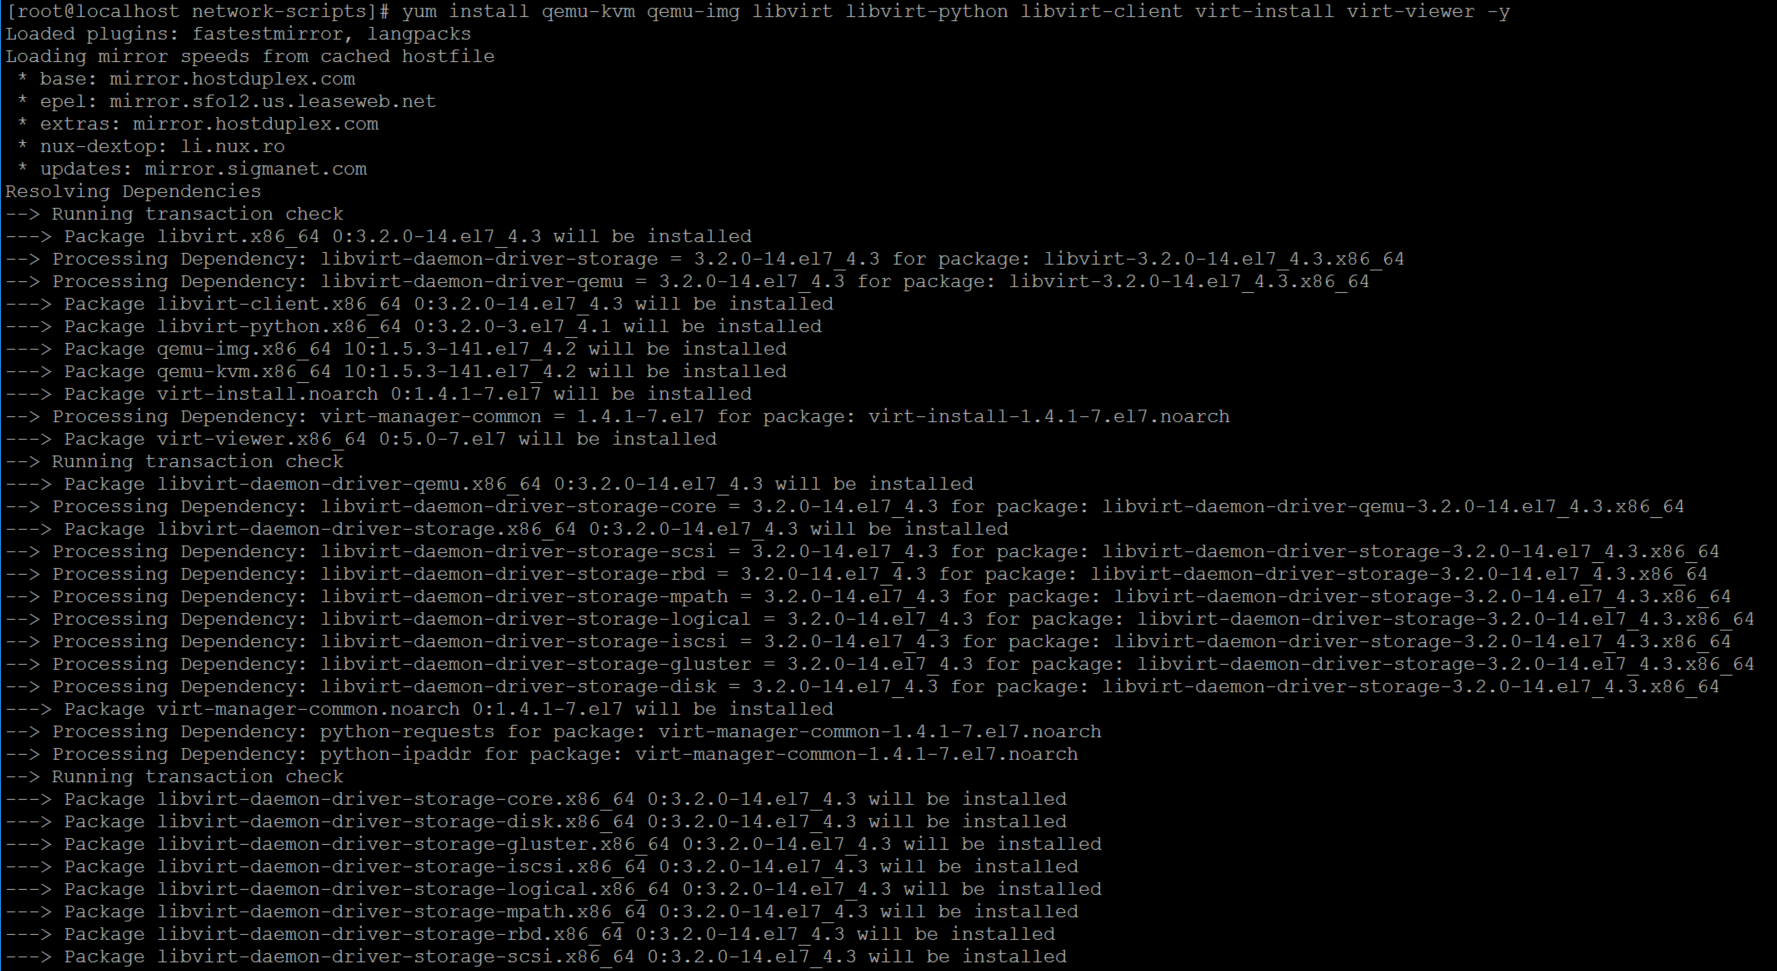
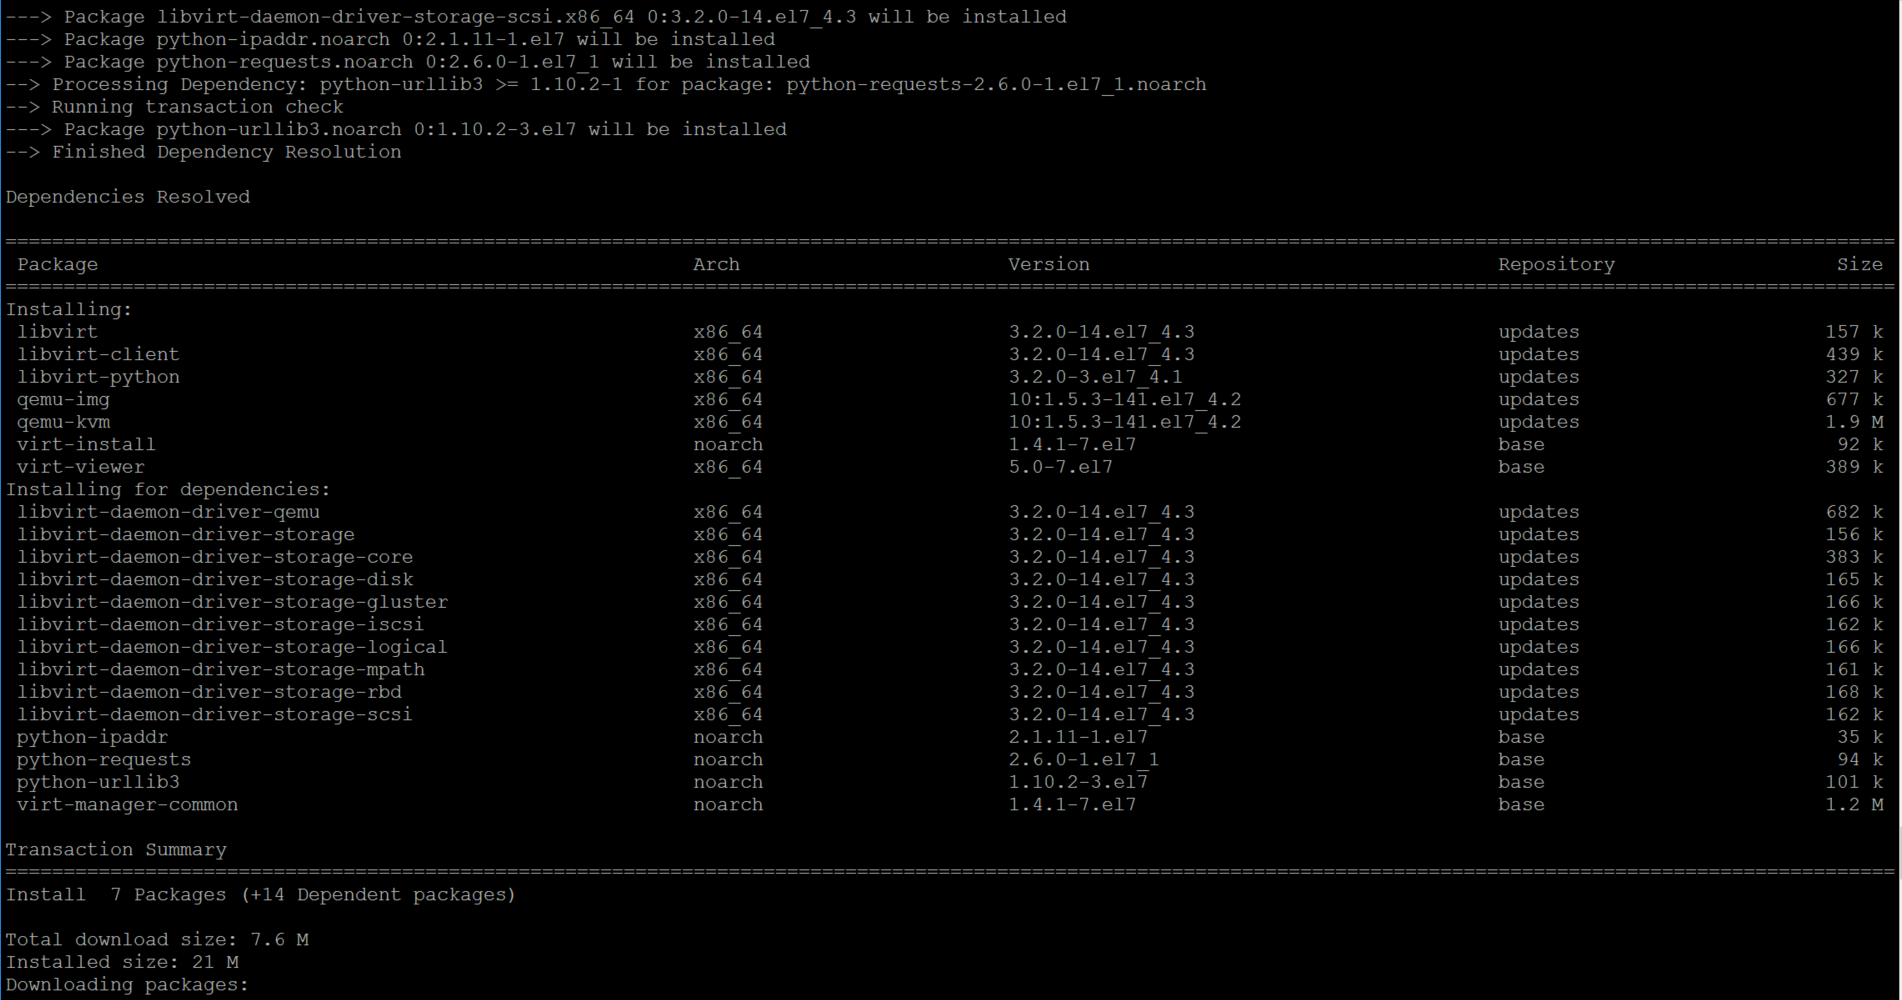
Install KVM and depended packages.
#yum install qemu-kvm qemu-img libvirt libvirt-python libvirt-client virt-install virt-viewer -y


• qemu-kvm = QEMU emulator
• qemu-img = QEMU disk image manager
• virt-install = Command line tool to create virtual machines.
• libvirt = Provides libvirtd daemon that manages virtual machines and controls hypervisor.
• libvirt-client = provides client-side API’s for accessing servers and also provides virsh utility which provides command line tool to manage virtual machines.
• virt-viewer – Graphical console
Your KVM hypervisor is ready for action now.
